توضیحات
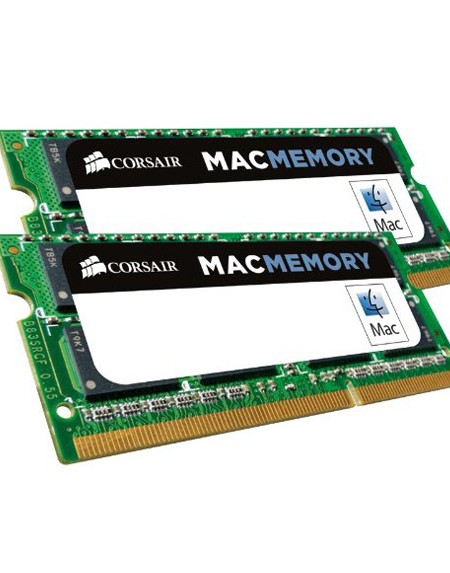
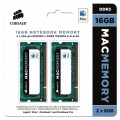
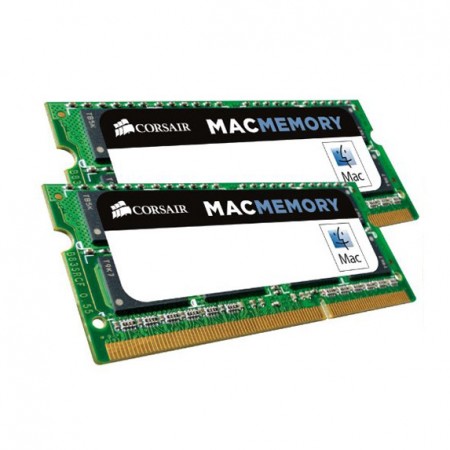
Compatible with MacBook Pro (13-inch, Late 2011), MacBook Pro (13-inch, Early 2011), MacBook Pro (15-inch, Late 2011), MacBook Pro (15-inch, Early 2011), MacBook Pro (17-inch, Late 2011), MacBook Pro 17-inch, Early 2011
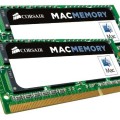
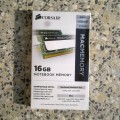
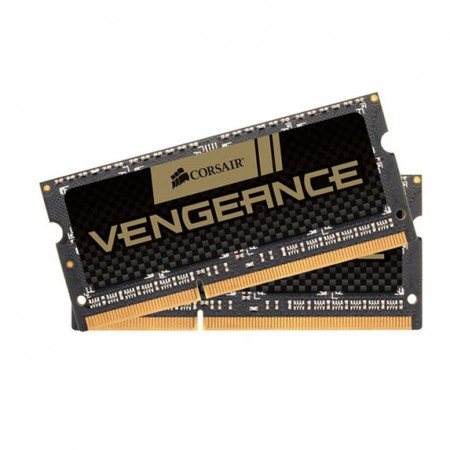
Density: 16GB 2x8GB SO-DIMM
Speed: 1333MHz CL9
Timing: 9-9-9-24 1333MHz
Pin Out: 204 Pin
Voltage: 1.5V
Limited Lifetime Warranty from Corsair
Product Description
Corsair’s 4GB, 8GB, and 16GB Mac memory upgrade kits will help your system work better. With hassle-free compatibility and renowned Corsair reliability and support, they’re a smart performance investment

One of the best ways to improve your Mac’s performance
Applications use memory, and some of the applications that run best on the Mac — photo and video editing — use lots of it. That’s why outfitting your Mac with a Corcair Mac Memory upgrade kit is one of the best things you can do to maximize your system’s performance and agility
With a Mac that’s been upgraded to the maximum amount of memory it supports, you’ll spend less time waiting for your applications to buffer data to the hard drive, and more time working — or playing. Upgrading memory can also be a cost-effective way to get more life out of your older system: before you trade up to a new one, just upgrade the memory
Tested at Apple Developer Compatibility Labs for Guaranteed Performance
Corsair’s Mac memory kits are tested at Apple Developer Compatibility Labs and work with most MacBook Pro, iMac, and Mac mini systems shipped in 2011
Not sure if your older Mac will work with 8GB DDR3 SODIMMs? Get in touch with us, and we’ll help

The DDR3 SODIMM format is compatible with virtually all modern Mac computers
The Corsair Difference
With a long history of building enthusiast-grade memory and components, we’ve earned a reputation for quality, compatibility, and performance. Need help? We’re available by phone call, email or web forum
Technical Specifications
204-pin DDR3 SODIMMs
1.5 Volts
Supports memory bus speeds of up to 1333 MHz
9-9-9-24 CAS timing
آموزش تعویض رم مک بوک پرو ۲۰۰۸ تا ۲۰۱۳
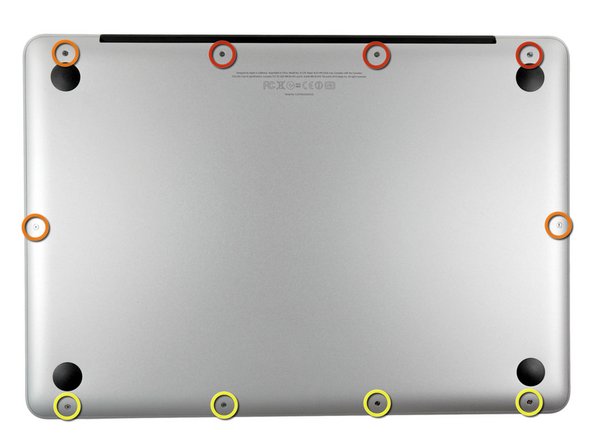
مرحله 1
- سه پیچ نوع Phillips14.4 میلیمتری (قرمز)
- سه پیچ نوع Phillips3.5 میلیمتری (نارنجی)
- چهار پیچ شانه ای نوع Phillips3.5 میلیمتری (زرد)
مرحله 2
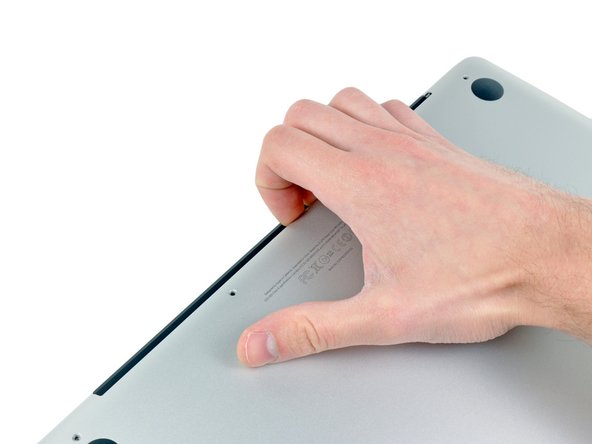
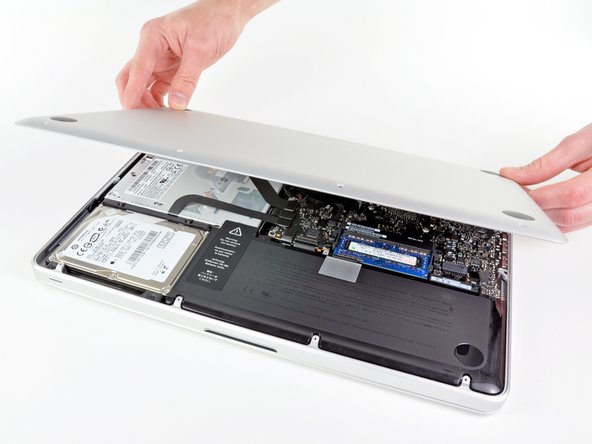
- انگشتان خود را نزدیک دریچه قرار دهید و قاب پشتی را از بدنه MacBook بلند کنید.
- قاب پشتی را جدا کنید.
مرحله 3 – باتری
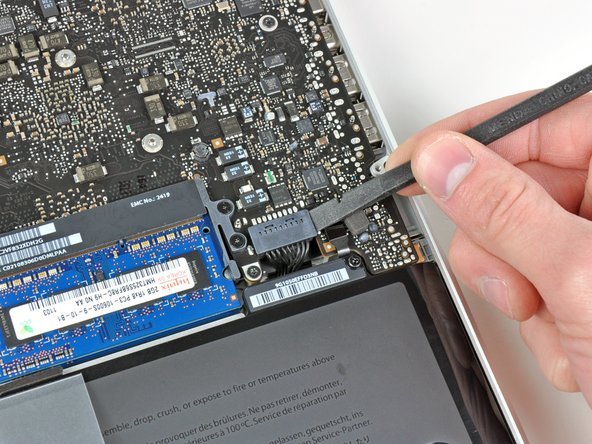
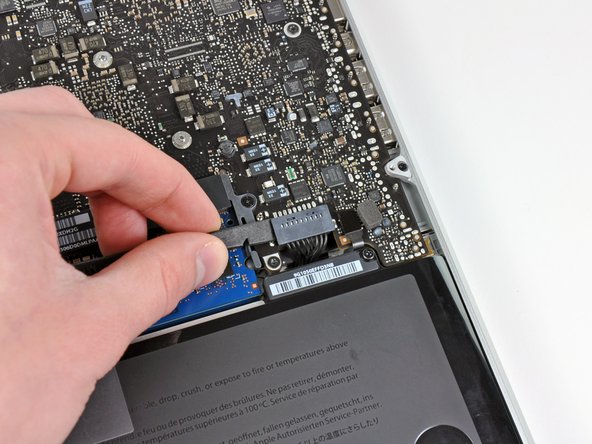
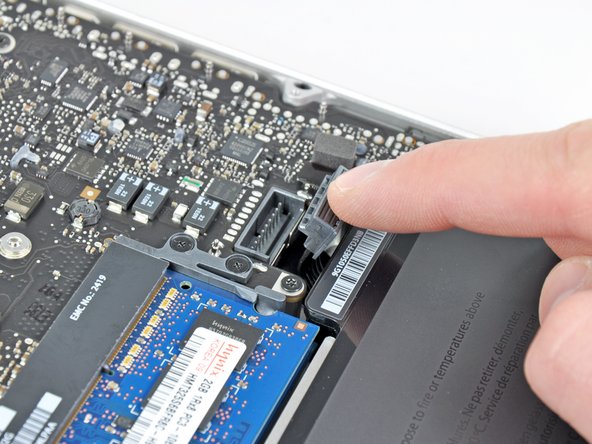
- از لبه یک قطعه پلاستیک یا نک انگشتان برای بلند کردن رابط باتری از محفظه خود که بر روی برد منطقی قرار دارد استفاده کنید.
- بهتر است رابط باتری را از دو سمت بلند کنید تا به راحتی از محفظه خود جدا شود.
مرحله 4
- کابل باتری را از محفظه روی برد منطقی کمی خم کنید تا در هنگام کار بطور خودکار متصل نشود.
مرحله 5
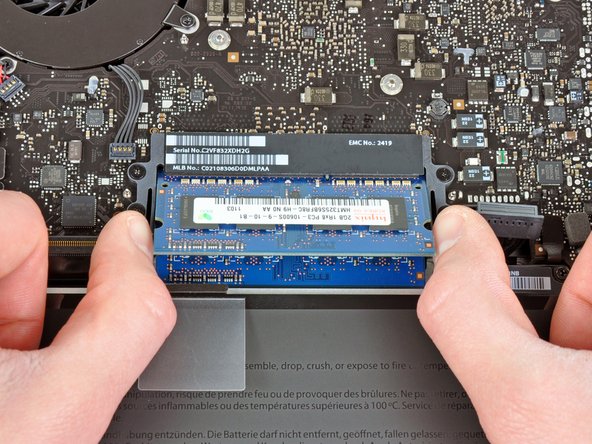
- دو بازوی محافظ RAM را از وسط چیپ RAM به سمت خارج بکشید.
- چیپ RAM به آرامی از محفظه خود خارج خواهد شد.
مرحله 6
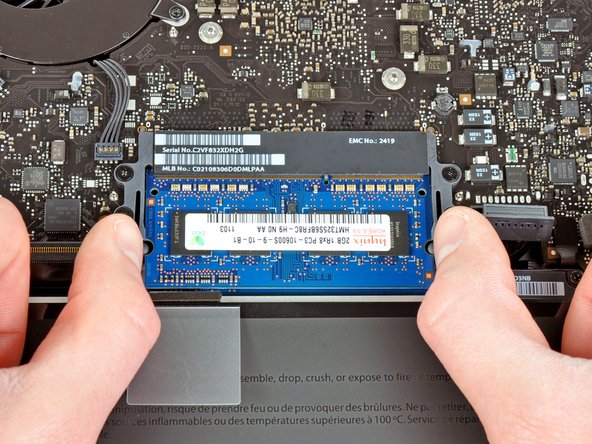
- RAM را از محفظه خود بیرون بکشید.
- به همین شیوه چیپ RAM دوم را نیز جدا کنید.

دانلود نرم افزار رایگان تخلیه مموری برای کارایی بهتر رم مموری ها درسیستم مک:




نقد و بررسی ها
هیچ دیدگاهی برای این محصول نوشته نشده است.